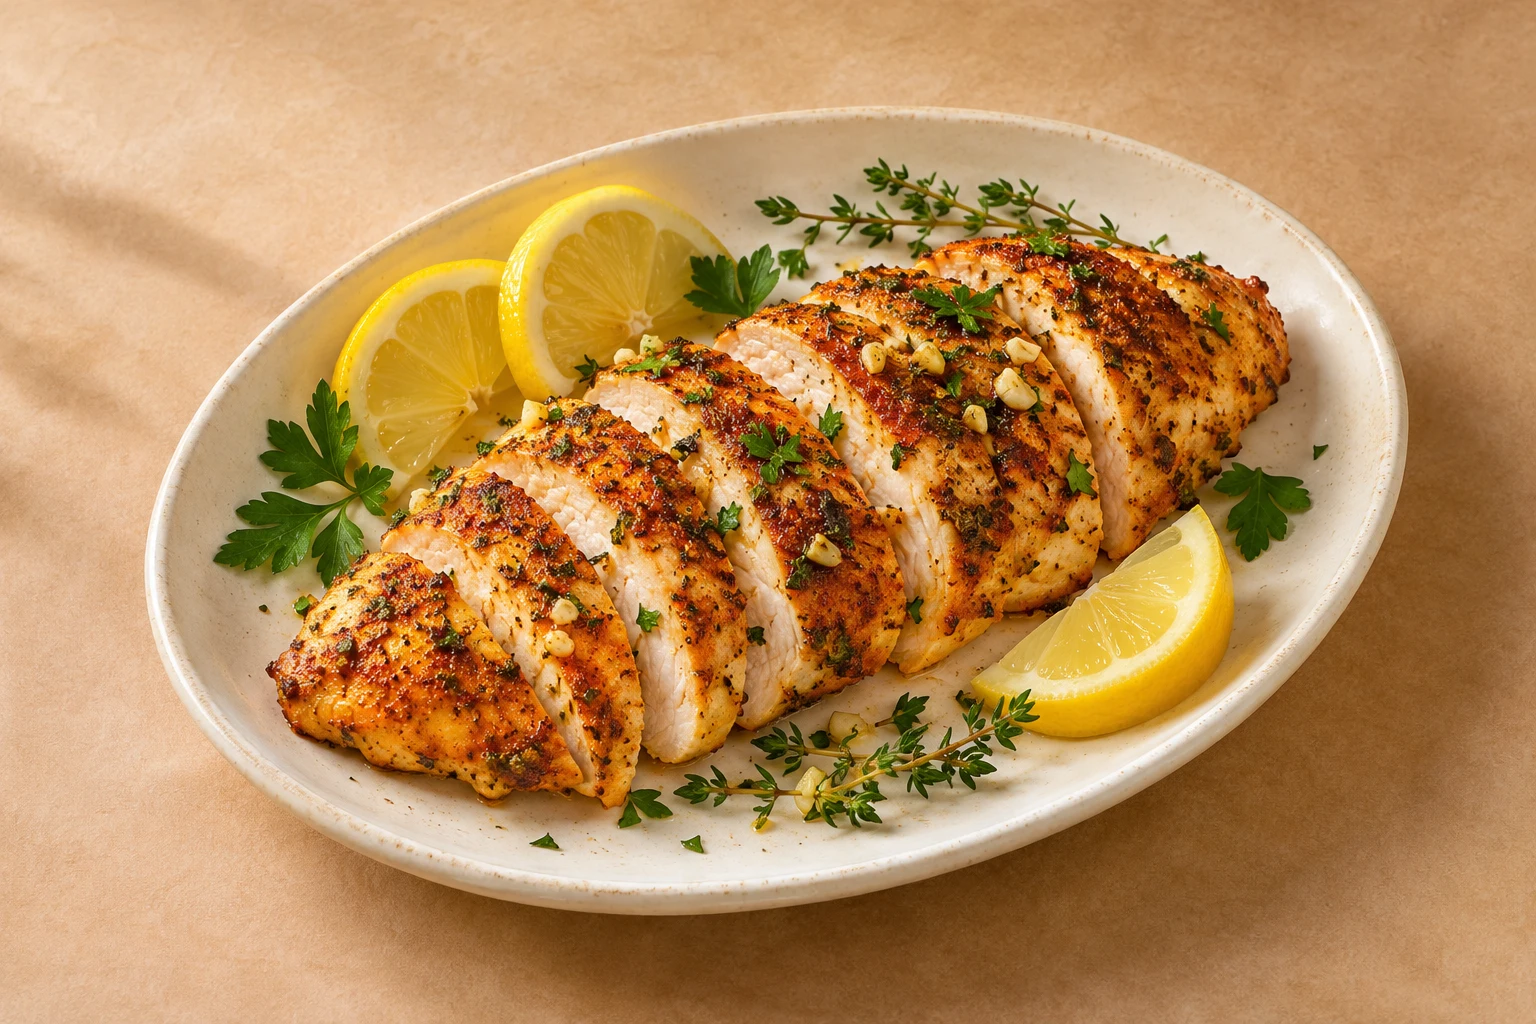
Air Fryer Lemon Garlic Chicken
A golden garlic crust, juicy slices, and a squeeze of lemon right before dinner.
- Prep
- 7 min
- Cook
- 18 min
- Serves
- 4
Before you start
Choose chicken breasts similar in thickness. Zest the lemon over the bowl so the fragrant oils land in the seasoning. Keep the juice for the cooked chicken. For sandwiches, slice across the grain after a brief rest so every slice stays tender.
Ingredients
- 1½ lb boneless skinless chicken breasts
- 1 tbsp olive oil
- 1 lemon
- 2 garlic cloves, grated
- 1 tsp oregano
- ¾ tsp kosher salt
Instructions
- Pound the thick ends to about ¾ inch so both ends cook evenly.
- Toss with oil, lemon zest, garlic, oregano and salt. Arrange in a single layer.
- Air-fry at 375°F for 13–18 minutes, turning halfway. Check the thickest part for 165°F, then finish with lemon juice.
Cooking tips
A basket that is hot before the chicken goes in will start browning sooner. Leave a little space around each breast and cook a second batch if necessary. Insert the probe from the side into the center so the tip stays in the meat rather than touching the basket.
How to tell when it’s ready
When the breast is ready to turn, the top should look dry and lightly golden. If the thickest spot is still below 165°F, leave it in and recheck after a couple of minutes. Take thinner pieces out as soon as they reach temperature so the rest can finish without drying them out.
Adjusting for your basket
In a compact basket, cook two breasts at a time. If the first batch cools while you finish the second, warm the cooked pieces briefly before slicing. Finish both batches with lemon at the same time so the juice stays bright and the crust holds up.
Serving and make-ahead ideas
For meal prep, slice only the portions you plan to serve right away. Keep the other pieces whole and refrigerate them with any juices. Reheat covered with a splash of water, then add fresh lemon and herbs just before serving.
What to buy and what to set out
At the store, look for breasts with a similar shape and a modest taper. Similar portions are easier to check because they cook at roughly the same rate. If you already have a mixed package, divide the ingredients by thickness before you season them. Put the larger pieces together and plan to check the smaller ones first. That is more reliable than trying to make everything finish at the same minute.
The seasoning here is built around lemon zest, oregano and garlic. Measure it before cooking so you can use the basket time to get the rest of the meal ready. A small bowl for seasoning and a clean plate on the other side of the air fryer make the handoff easier. As part of the prep, reserve clean lemon wedges before you start handling the chicken.
Plan the cooking order
Start with this detail in mind: the thin ends dry before the centers finish. The best time to prevent it is during prep. Look at the pieces side by side, then arrange them so hot air has a path around the thickest parts. You can fit a little less in the basket and get more consistent results than you would by filling it to the top.
Start checking at the lower end of the cooking time in the recipe. If your machine browns one corner faster, move the pieces there to a cooler spot when you turn or shake the basket. A second batch in an already warm machine can run faster. Keep the timer as a reminder to look, and use the readiness cues above to decide when to take the food out.
How to recover a batch in progress
If the food is browning unevenly, pause for a moment and sort the pieces by what they need. Move any fully cooked small pieces to a clean plate, then turn or spread out the pieces that need longer. If the basket has a pool of liquid, handle it only when you can do so safely and follow the machine instructions for draining. A little extra room can make a bigger difference than adding more heat.
If you are unsure about seasoning, taste a cooked piece before adjusting the whole batch. Start with a small amount of the finishing seasoning rather than adding a second full dose. When the issue is texture, fix the cooking first and add the finish just before serving. This is especially useful with lemon zest, oregano and garlic, where an extra helping can cover the flavor or texture you are trying to bring out.
Turn it into a meal
For a dinner plate, serve this with a side of rice or white beans. Choose the side first if it takes more time than the recipe. Once it is almost ready, start the air fryer. That gives you somewhere to put the finished batch immediately and makes it easier to serve the parts that taste best warm.
When dinner is ready, slice the breasts across the grain just before putting them on the table. Set aside leftovers before adding any wet topping that you would rather keep separate. Write the date on the container if you are preparing several meals at once, and use the storage guidance below to decide when to serve them.
If you scale the recipe
For a half batch, use the same temperature as a starting point and check early. For a double batch, keep the layer in the basket about the same thickness as for a single batch. Cook in rounds and return any finished food to the table only when you are ready to serve. Splitting the batch takes more time but gives each piece the space it needs.
Keep a quick note the first time you make lemon garlic chicken: how large your pieces were, when you first checked, and what the finished surface looked like. The next time you use the same air fryer and cut the ingredients to a similar size, that note will be more useful than trying to remember a single number from the timer.
Save for your next air fryer night
A golden garlic crust, juicy slices, and a squeeze of lemon right before dinner.
More chicken recipes
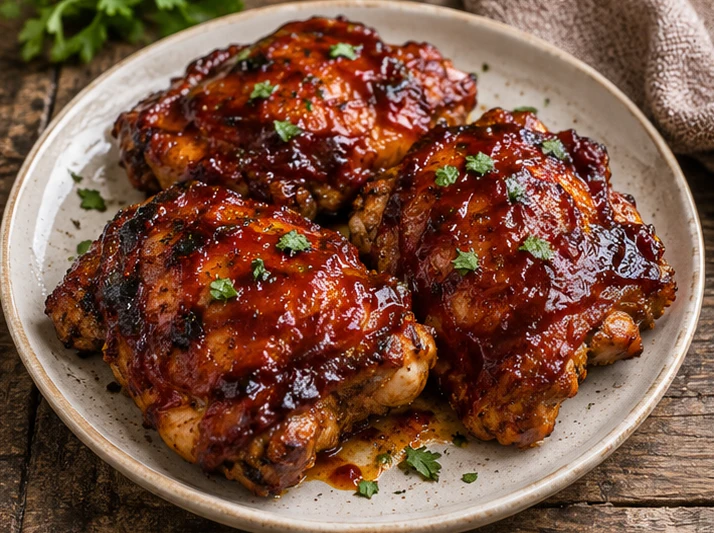
Air Fryer Sticky BBQ Chicken Thighs
Smoky chicken thighs finished with a sticky barbecue glaze.
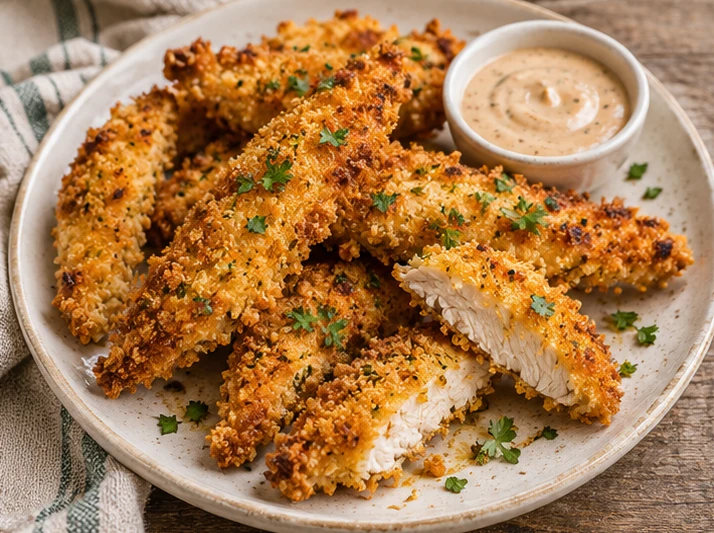
Air Fryer Panko Chicken Tenders
Golden panko tenders with a crunchy coating made for dipping.
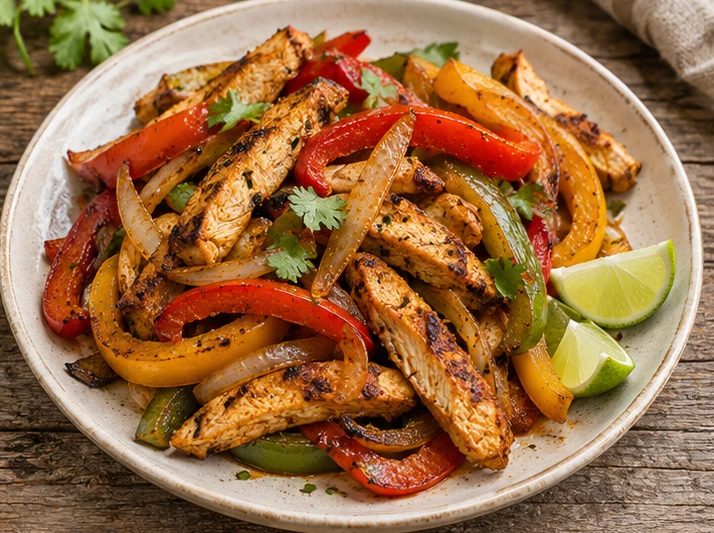
Air Fryer Chicken Fajitas
Smoky chicken strips and blistered peppers ready for warm tortillas.
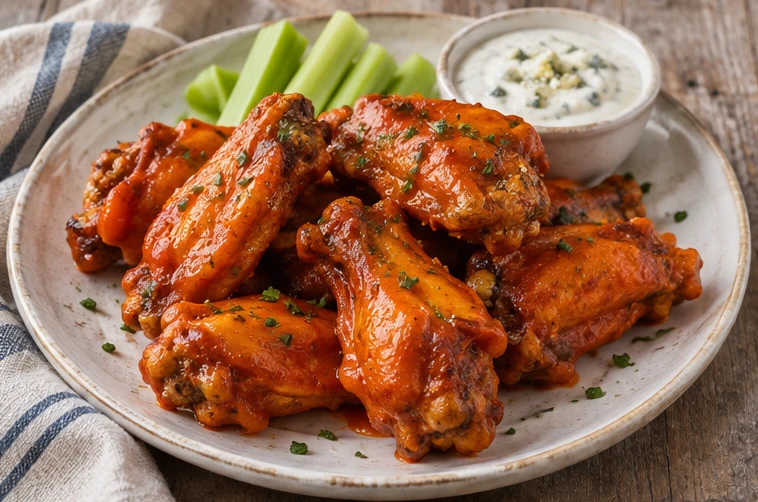
Air Fryer Buffalo Chicken Wings
Crisp-skinned wings with a buttery buffalo glaze and plenty of tang.
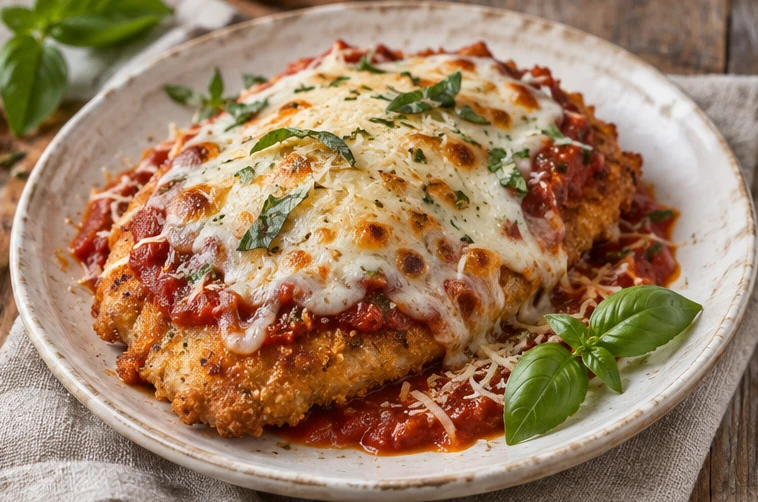
Air Fryer Chicken Parmesan
Crisp chicken cutlets topped with a little marinara and bubbling mozzarella.